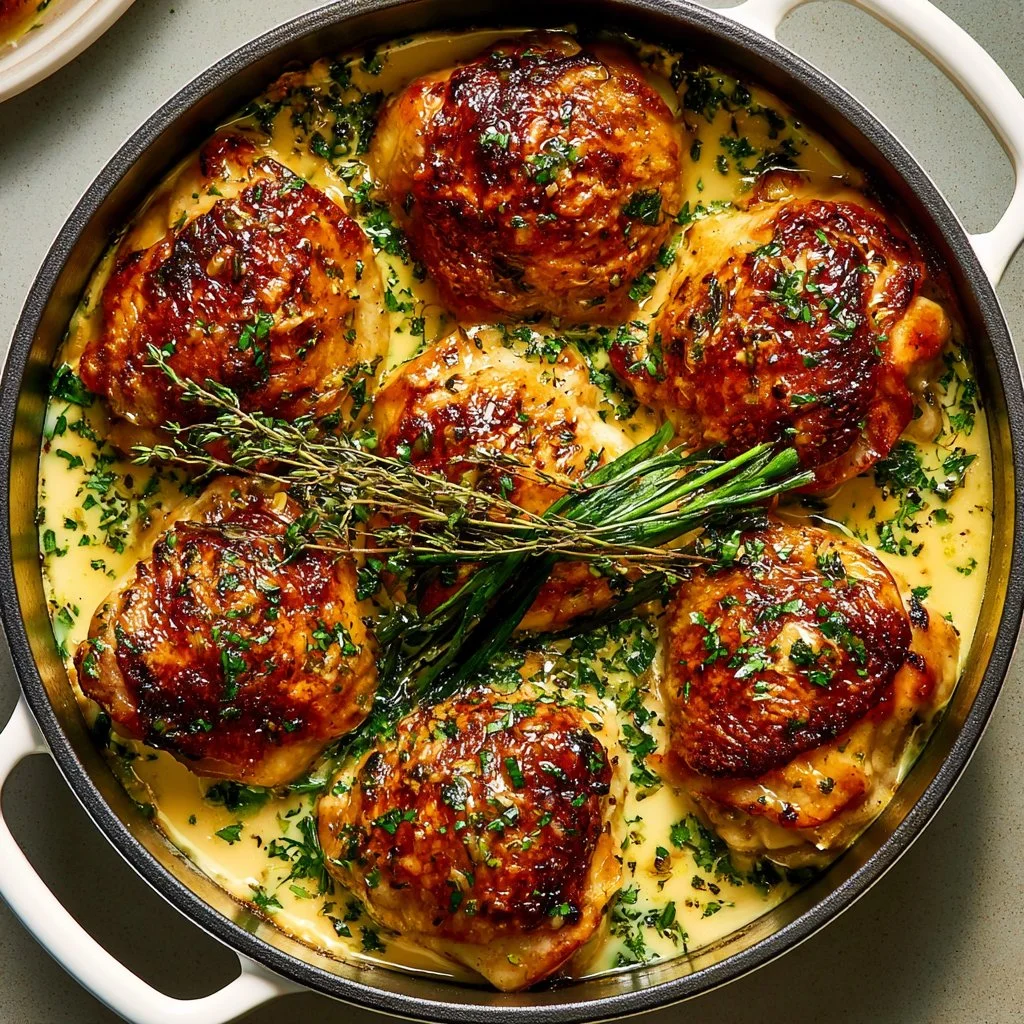

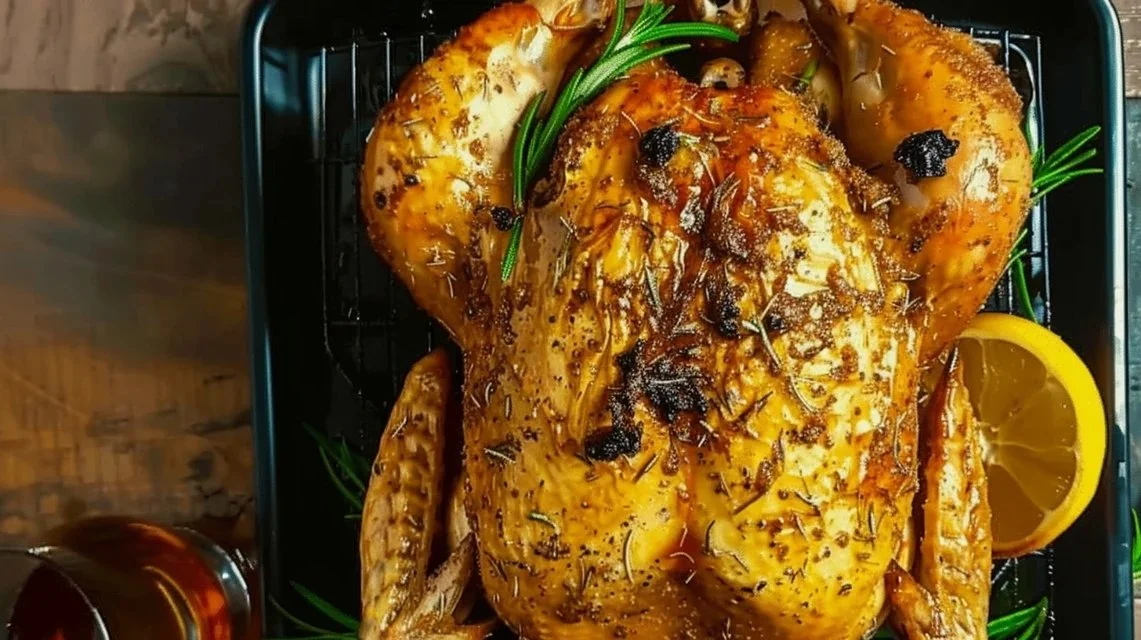
There’s something undeniably satisfying about a perfectly roasted chicken, especially when it’s balanced with the unique flavors that come from beer. This dish is often enjoyed at family gatherings, weekend cookouts, or even simple weeknight dinners. Its comforting nature and straightforward preparation make it a favorite for many home cooks. With a little effort, you can achieve a delightful meal that’s both impressive and restful. Let’s dive into this easy recipe for beer can chicken.
Why You’ll Love This Beer Can Chicken in oven recipe
This beer can chicken recipe offers a straightforward approach that’s reliable for any occasion. The technique allows for even cooking, resulting in tender, juicy meat infused with rich, balanced flavors. It’s an easy dish to prepare, making it practical for your busy weeknights or weekend feasts, whether you’re cooking for your family or hosting friends.
Kitchen Tools You’ll Need
- Roasting pan
- Grill or oven
- Can opener
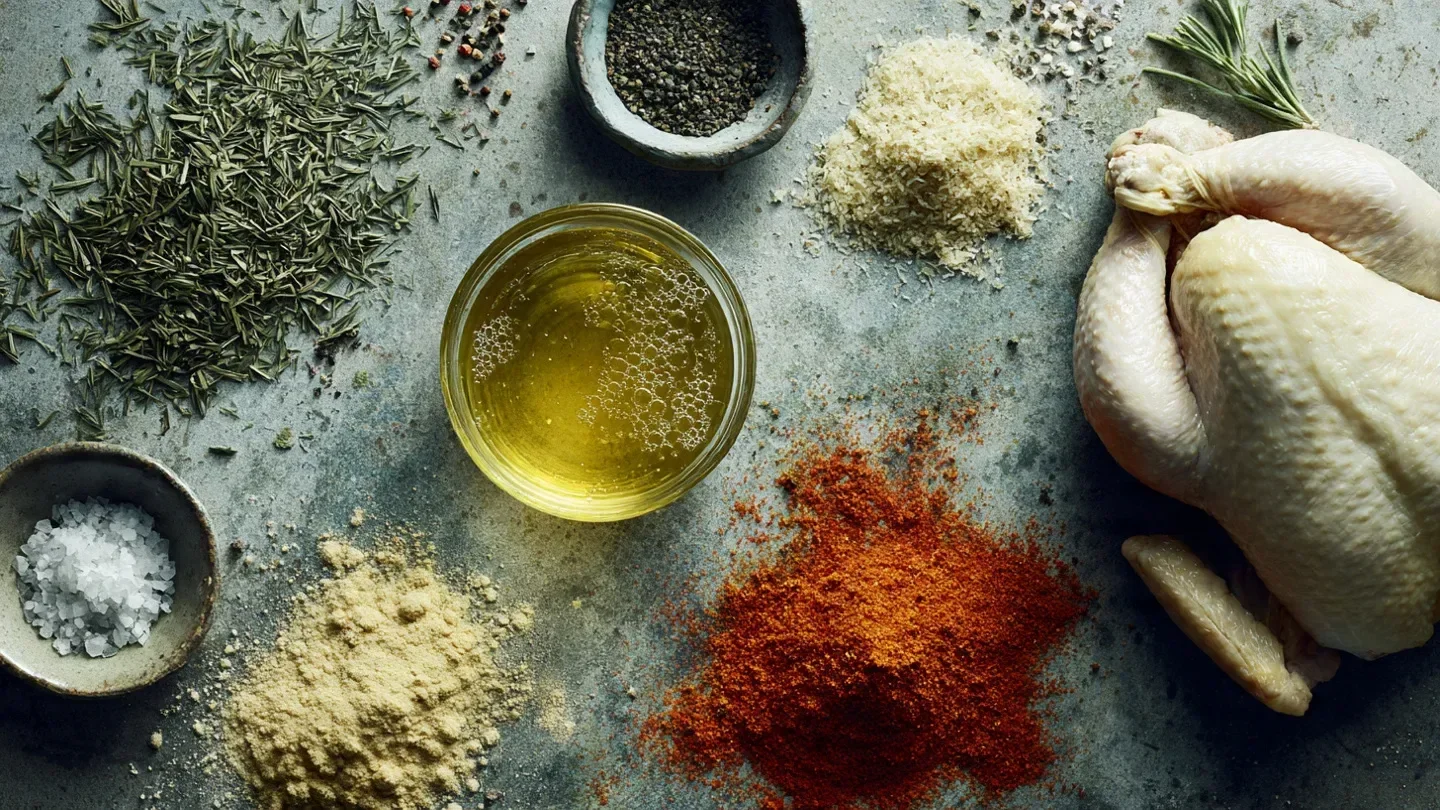
Ingredients
- 1 whole chicken (provides a hearty protein base)
- 1 can of beer (adds moisture and flavor during cooking)
- 3 tablespoons olive oil (helps to crisp the skin and provides richness)
- 1 tablespoon dry oregano (offers a fragrant herbal note)
- 1 tablespoon dry rosemary (adds a woodsy aroma and depth)
- 1 teaspoon salt (enhances overall flavor)
- 1 teaspoon ground black pepper (provides mild heat and flavor)
- 1 teaspoon smoked paprika (introduces a subtle smoky taste)
- 1 teaspoon paprika (adds color and a gentle pepper flavor)
- 1 teaspoon garlic powder (delivers a warm, savory depth)
How to Make Beer Can Chicken in oven recipe
Step 1. Start by preheating your grill or oven. You want to prepare the cooking environment in advance, ensuring that heat will evenly circulate around the chicken. If you’re using a grill, set it up for indirect heat, which will help cook the chicken through without burning the exterior.
Step 2. While the grill or oven heats up, prepare your chicken. Pat the whole bird dry with paper towels to remove excess moisture, which will aid in achieving crispy skin. This is an essential step for proper roasting, as moisture can prevent browning.
Step 3. In a small bowl, mix the olive oil, oregano, rosemary, salt, black pepper, smoked paprika, regular paprika, and garlic powder. Stir the ingredients until they form a paste. This mixture will not only season the chicken but also create a flavorful crust as it cooks.
Step 4. Rub the seasoning paste all over the chicken, ensuring you cover every surface. Be thorough, as this will impart flavor throughout the meat and skin. Don’t forget to apply some seasoning inside the cavity of the chicken for added flavor.
Step 5. Open the can of beer and drink or pour out a small amount, leaving enough to fill the can about halfway. This will allow steam to escape while the chicken roasts. Insert the can into the cavity of the seasoned chicken, which will help keep the bird upright during cooking.
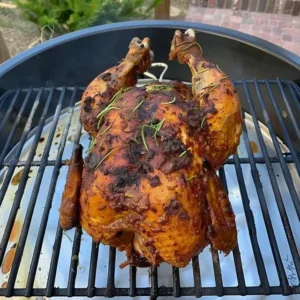
Step 6. Carefully place the chicken upright in a roasting pan or on your grill. If using the grill, ensure it’s positioned over the area with indirect heat. The can holds the chicken steady and allows for even cooking, ensuring all sides benefit from the heat.
Step 7. Close the grill lid or oven door and let the chicken cook without opening it too frequently. This will maintain a consistent temperature around the chicken. You can monitor the cooking progress visually; the skin should develop a golden brown color.
Step 8. When the chicken is nearly done, check for doneness using a meat thermometer. The internal temperature should reach at least 165 degrees Fahrenheit in the thickest part of the breast. This ensures the meat is safe to eat and properly cooked.
Step 9. Once done, carefully remove the chicken from the grill or oven. Let it rest for about 10-15 minutes; this allows the juices to redistribute within the meat, making for a moister chicken. Be cautious when removing the beer can, as it will be hot.
Step 10. After resting, carve the chicken and serve it with your favorite sides. The meat should be juicy and flavorful, with a lovely crispy skin that adds texture to each bite.
Serving Suggestions
Beer can chicken makes a wonderful centerpiece for various meals. It can easily be served as a hearty family dinner alongside classic sides like mashed potatoes or roasted vegetables. Leftovers make great additions to salads or sandwiches for lunch the next day. You could even slice it for breakfast burritos if you want to get creative. Its versatility means it can fit into any meal plan seamlessly, whether you’re enjoying a casual snack or hosting a larger gathering.
Pro Tips for Best Results
- Ensure your chicken is completely thawed for even cooking.
- Use a flavorful beer that you enjoy drinking, as the taste will transfer to the chicken.
- Allow the chicken to rest after cooking to retain moisture.
- Experiment with the spices in the rub for varied flavors.
- Keep a spray bottle with water handy to mist the chicken during cooking for extra moisture if needed.
Common Mistakes to Avoid
- Not drying the chicken properly: Leaving moisture on the skin can lead to sogginess instead of achieving the desired crispiness. Patting it dry before seasoning helps ensure a better texture.
- Skipping the seasoning: Not applying enough seasoning will result in bland chicken. Be generous and thorough to create a flavorful crust.
- Using a small beer can: If the can is too small, it might not provide enough stability for the chicken while cooking. Opt for a standard size for better support.
- Overcooking the chicken: Not monitoring the internal temperature can lead to dry meat. Use a thermometer to check doneness and remove it promptly.
- Opening the grill or oven too frequently: This lets heat escape, prolonging cooking time and affecting even cooking. Keep the lid closed as much as possible.
- Neglecting to let it rest: Cutting into the chicken immediately after removing it from the heat can release juices, resulting in a drier texture. Give it time to rest for the best results.
Variations & Substitutions
For those who want to switch things up, consider experimenting with different beer flavors, such as a fruity ale or a dark stout, to alter the taste. If fresh herbs are available, they can be used instead of dried for a more vibrant flavor. Additionally, you can adjust the spice levels by adding a bit of cayenne or using different pepper varieties.
Storage & Reheating
Once cooled, any leftover chicken can be stored at room temperature for up to two hours. After that, it’s best to transfer it to the refrigerator, where it will last for 3-4 days. For longer storage, consider freezing the chicken in an airtight container, which will keep it fresh for about 4 months. When reheating, aim to use an oven or grill to maintain the skin’s crispness, warming it at a low temperature until heated through.
Frequently Asked Questions
Can I make this recipe ahead of time?
Yes, you can prepare the chicken and season it earlier in the day. Allow it to marinate in the refrigerator to enhance flavors before cooking.
How long does it last in the fridge?
Cooked beer can chicken can be stored in the refrigerator for about 3-4 days. Make sure it’s well-wrapped or in an airtight container.
Can I freeze this recipe?
You can freeze leftover beer can chicken. It should be stored in an airtight container and will maintain good quality for about 4 months.
What can I substitute for one ingredient?
If you don’t have dry oregano, you could use another dried herb, such as thyme or Italian seasoning, as a substitute for a similar flavor profile.
Why didn’t my recipe turn out as expected?
If your chicken wasn’t flavorful or moist, it could be due to insufficient seasoning or not resting it long enough after cooking. These steps are crucial for developing flavor and texture.
Final Thoughts
Making beer can chicken brings a simple yet rewarding experience to your kitchen. The combination of aromatic herbs and the unique flavor from the beer creates a deliciously juicy meal, perfect for any occasion. As you enjoy your meal, savor the comfort of knowing you’ve prepared something that not only satisfies the appetite but also brings a touch of warmth to your table.
Beer Can Chicken
Ingredients
Main Ingredients
- 1 whole whole chicken provides a hearty protein base
- 1 can can of beer adds moisture and flavor during cooking
Seasoning Mixture
- 3 tablespoons olive oil helps to crisp the skin and provides richness
- 1 tablespoon dry oregano offers a fragrant herbal note
- 1 tablespoon dry rosemary adds a woodsy aroma and depth
- 1 teaspoon salt enhances overall flavor
- 1 teaspoon ground black pepper provides mild heat and flavor
- 1 teaspoon smoked paprika introduces a subtle smoky taste
- 1 teaspoon paprika adds color and a gentle pepper flavor
- 1 teaspoon garlic powder delivers a warm, savory depth
Instructions
Preparation
- Preheat your grill or oven, ensuring even circulation of heat.
- Pat the whole bird dry with paper towels.
- In a small bowl, mix olive oil, oregano, rosemary, salt, black pepper, smoked paprika, regular paprika, and garlic powder until it forms a paste.
- Rub the seasoning paste all over the chicken, including inside the cavity.
- Open the can of beer and pour out a small amount, leaving it half full. Insert the can into the cavity of the chicken.
Cooking
- Place the chicken upright in a roasting pan or on the grill, ensuring it’s in indirect heat.
- Close the grill lid or oven door and cook the chicken without opening it frequently.
- Check the doneness using a meat thermometer, with an internal temperature of at least 165°F.
- Remove the chicken from the grill or oven and let it rest for 10-15 minutes.
- After resting, carve the chicken and serve.