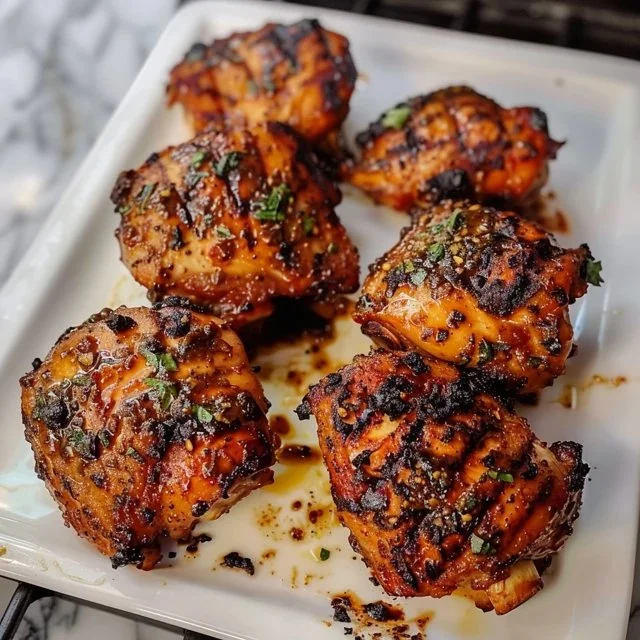
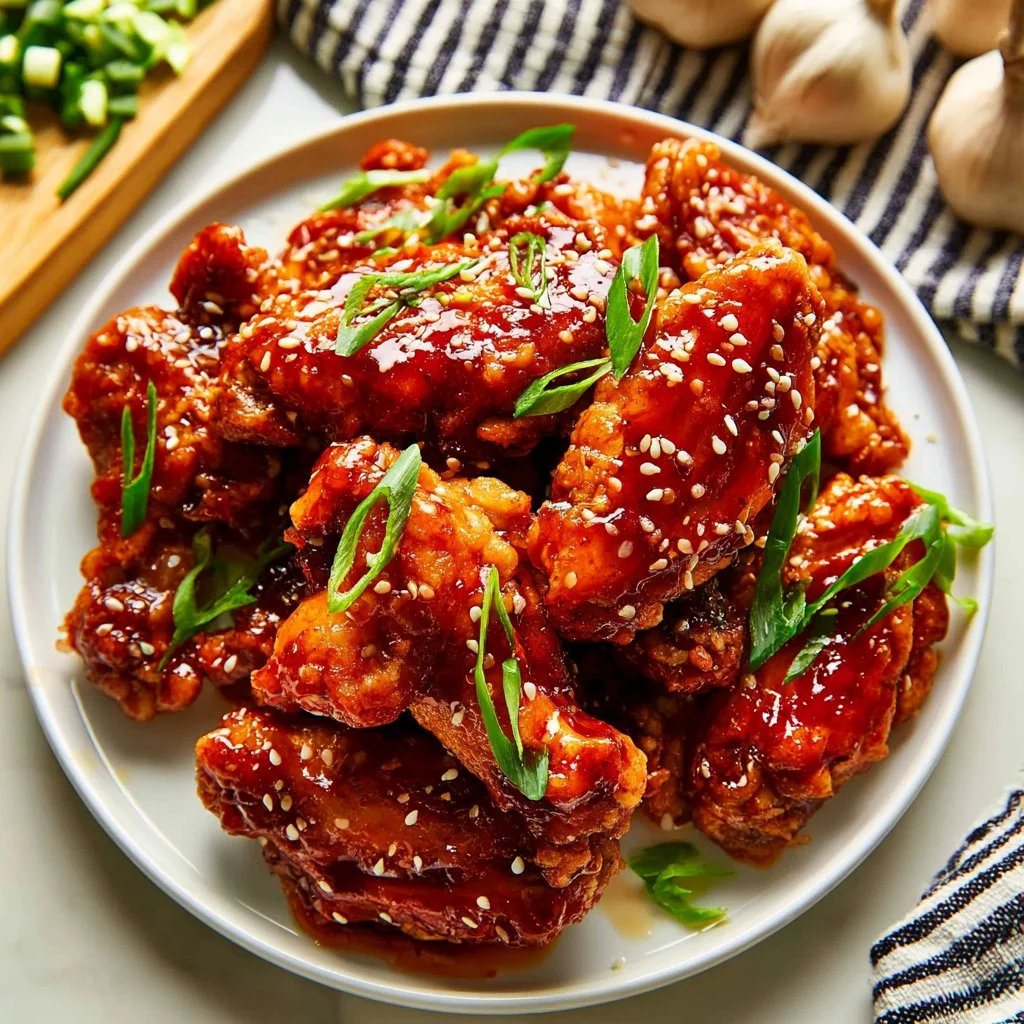
There’s something incredibly comforting about filling the kitchen with the rich aroma of fried chicken. As the honey garlic sauce thickens, the mingling scents of sweet and savory create that sense of home that’s hard to beat. This easy honey garlic chicken recipe delivers a perfect blend of crispy texture and tender chicken tenders, all wrapped up in a rich, flavorful glaze. It’s a simple, straightforward dish that’s sure to impress.
Why This Easy Honey Garlic Chicken Recipe Works
This dish is reliable because it uses simple, familiar ingredients that blend beautifully together. The flour and egg coating creates a crispy, golden exterior while sealing in the chicken’s moisture. The garlic provides a warm, aromatic base, while the honey and soy sauce contribute a perfect balance of sweetness and umami. In just a few steps, you’ll have a savory meal that is as satisfying to make as it is to eat.
Kitchen Tools for Easy Honey Garlic Chicken Recipe
- Shallow dishes
- Large skillet
- Small skillet
- Tongs or fork
- Paper towels
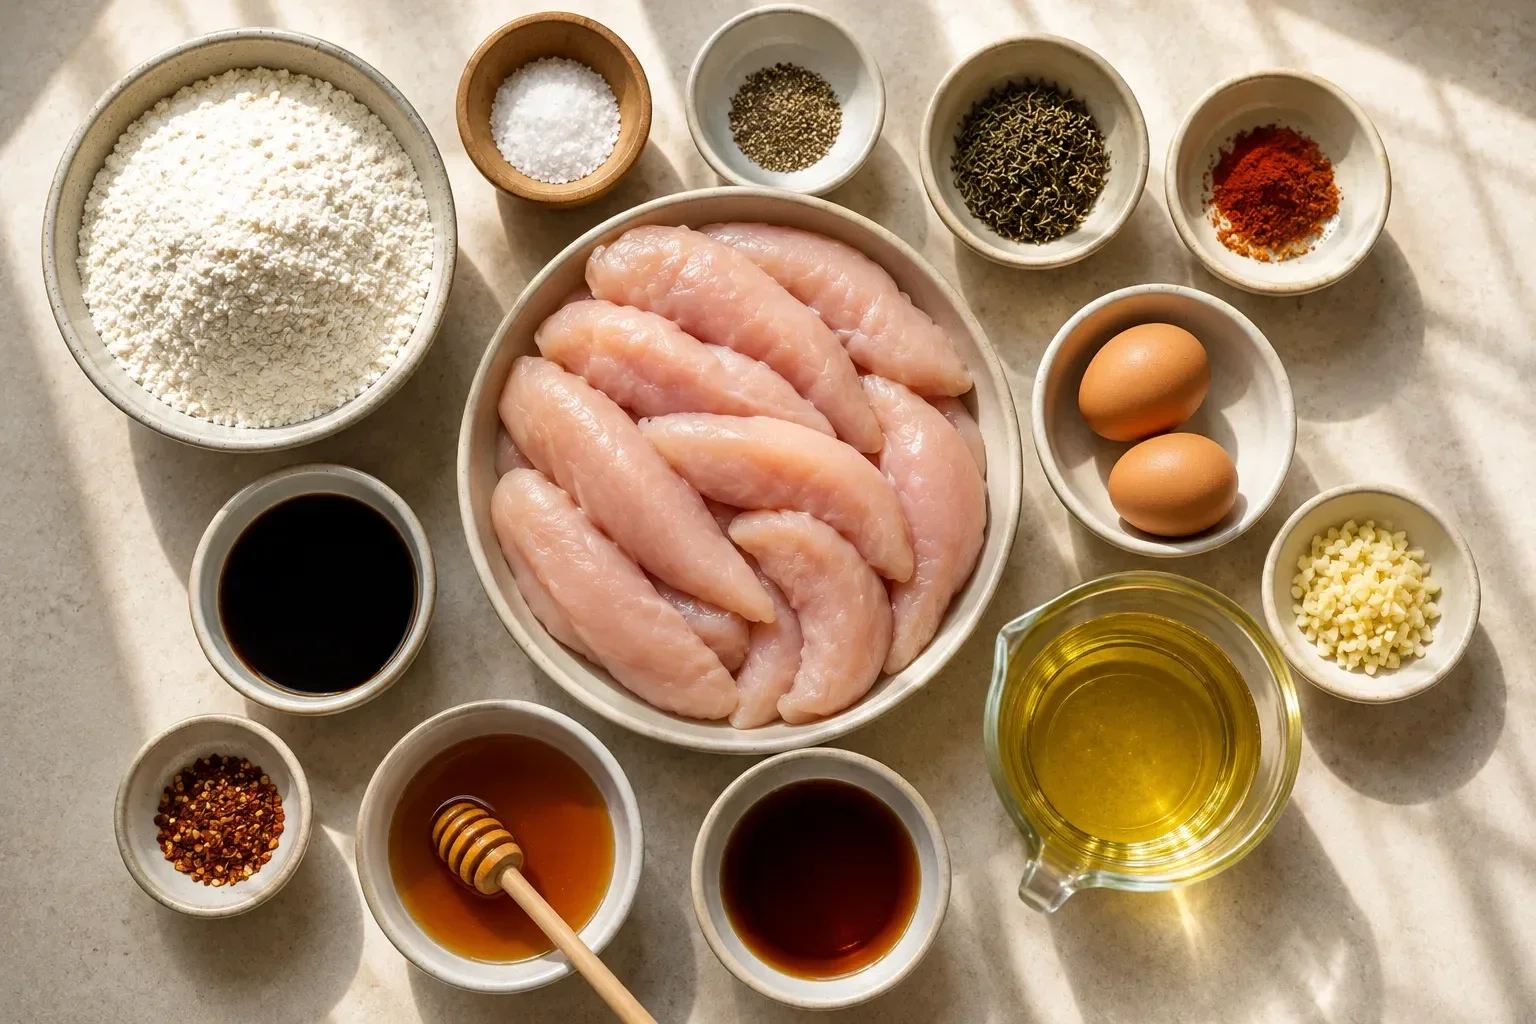
Ingredients
- 1 cup all purpose flour
- 1/2 teaspoon salt
- 1/4 teaspoon pepper
- 1 teaspoon dried thyme
- 1 teaspoon paprika
- 2 eggs
- 2 pounds chicken tenders
- 4 cloves garlic (minced)
- 1/4 cup soy sauce
- 3/4 cup honey
- 1/4 teaspoon red pepper flakes (optional)
- Canola oil (for frying)
How to Make Easy Honey Garlic Chicken Recipe
Step 1. Start by mixing together the flour, salt, pepper, dried thyme, and paprika in a shallow dish. This blend creates a flavorful coating for the chicken tenders, giving them both texture and taste. Make sure the spices are well-combined, as this will ensure every bite is delicious.
Step 2. In a second shallow dish, beat the two eggs until they’re well mixed. This egg wash will help the flour adhere to the chicken tenders, creating that lovely crunchy crust. Whisking until smooth is key to achieving an even coating later.
Step 3. Coat each chicken tender in the seasoned flour mixture. Be sure to cover them evenly, shaking off any excess. This initial coating helps lock in moisture during frying and gives the chicken a nice crunch.
Step 4. Dip each coated chicken tender into the egg mixture, allowing any excess to drip off. For an extra layer of crunch, dip them back into the flour mixture for a second coat. This double coating creates a satisfying texture that’s essential for that crispy finish.
Step 5. Once coated, place the chicken tenders on a plate. This step helps ensure they are ready for frying without too much disruption from the coating. Keeping them organized on a plate makes the frying process smoother.
Step 6. Pour enough canola oil into a large skillet to reach about 1/2 inch high. Heat this over medium heat until the oil is hot and shimmering. When the oil is ready, it will look wavy on the surface, indicating that it’s perfect for frying.
Step 7. Carefully add the chicken tenders to the hot oil. It’s best to position them in a single layer so they fry evenly. You can fry them in batches if your skillet isn’t large enough. The tenders should sizzle as they hit the oil, which is a good sign.
Step 8. Cook the chicken for about 4-5 minutes on each side, turning them when they’re golden brown. They should be crispy and fragrant at this point. Pay attention to the sound of frying; if it starts to quiet down, the oil may not be hot enough.
Step 9. Flip the chicken and continue cooking for an additional 3-4 minutes, or until they are cooked through and no longer pink in the center. The texture should be firm yet tender, indicating that they are fully cooked.
Step 10. Once cooked, remove the tenders to a paper towel-lined plate. This helps absorb any excess oil, keeping them crispy instead of greasy. The towel will catch any drips, leaving you with delicious tenders.
Step 11. In a separate small skillet, heat a little olive oil over medium-low heat. This will be the base for your sauce. Sautéing garlic adds depth to the flavor, making it rich and aromatic.
Step 12. Add the minced garlic to the skillet and cook for 2-3 minutes, or until it just starts to brown. Stir it occasionally to ensure that it cooks evenly without burning. The garlic should be fragrant but not overly dark.
Step 13. Pour in the soy sauce, honey, and optional red pepper flakes. Stir these ingredients together, allowing them to blend smoothly. The honey will add sweetness, while the soy sauce enhances the savory profile of the sauce.
Step 14. Cook the mixture for about 2 minutes until heated through and well combined. You’ll want the sauce to thicken slightly, which will help it cling to the chicken when you drizzle it on later.
Step 15. Brush or drizzle the warm sauce over the cooked chicken tenders until they are well coated. This step adds that signature honey garlic flavor, enhancing every bite with the blend of sweetness and savory notes.
Step 16. If desired, set aside some extra sauce for dipping later. It’s a nice touch to have this on the side, allowing everyone to customize their flavor experience while enjoying the chicken.
Step 17. For garnishing, sprinkle sesame seeds and sliced green onions over the tenders if you like. This adds a nice touch of color and a bit of extra crunch, elevating the dish’s presentation.
Serving Ideas for Easy Honey Garlic Chicken Recipe
This easy honey garlic chicken pairs beautifully with simple sides like steamed rice or roasted vegetables. The crispy texture of the chicken contrasts nicely with the soft graininess of rice, soaking up the sweet sauce. Leftovers are a breeze to reheat for lunch, and they’re great in salads or wraps for a quick meal. You can also serve it with a side of stir-fried vegetables for a complete dinner that feels both comforting and satisfying.
Practical Tips for Easy Honey Garlic Chicken Recipe
- Make sure the oil is hot enough before adding the chicken to avoid sogginess.
- Allow excess egg to drip off before coating in flour to achieve crispiness.
- Watch the garlic closely while cooking; it can burn quickly and become bitter.
- Use a meat thermometer to check that the chicken has reached 165°F for safety.
- Drain cooked chicken on paper towels to keep it light and crispy.
- Sauce can easily be adjusted based on your preferred sweetness or spice level.
Common Mistakes to Avoid
1. Not letting the oil heat properly. If the oil isn’t hot enough, the chicken will absorb too much oil and become greasy. Wait until the oil shimmers before frying.
2. Skipping the second coat of flour. This extra layer is essential for that crunchy texture. If you skip it, you may end up with a soggier chicken.
3. Overcrowding the skillet. If too many tenders are added at once, the temperature drops, resulting in unevenly cooked chicken. Fry in batches for the best results.
4. Burning the garlic. Garlic can go from golden to burnt quickly. Keep an eye on it and stir frequently to prevent bitterness in the sauce.
5. Not checking chicken doneness. Always verify that the chicken is no longer pink in the center. Using a meat thermometer takes the guesswork out of this.
6. Skipping the resting time. Allowing the chicken to sit for a minute after frying lets the juices redistribute. This prevents it from becoming dry when cut.
Simple Variations
For a little heat, feel free to use the optional red pepper flakes in the sauce. If you’re looking to add another layer of flavor, consider incorporating a splash of apple cider vinegar into the sauce for some acidity.
Storage & Reheating
Leftover chicken can be kept at room temperature for a short period but is best stored in the fridge. Place it in an airtight container; it will usually last around 3-4 days. For longer storage, freezing is an option. Simply wrap the chicken tightly in foil or freezer-safe wrap, ensuring it’s well protected from freezer burn. When reheating, a quick stint in a skillet can help restore some of the original crispiness, but be cautious not to overcook it.
Frequently Asked Questions
Can I make this recipe ahead of time?
Yes, you can prepare the chicken tenders ahead of time by coating and storing them in the fridge until ready to fry. Just keep in mind they may need a little more time to cook if chilled.
How long does it last in the fridge?
When stored properly in an airtight container, the easy honey garlic chicken will last for about 3-4 days in the fridge. Be sure to check for any signs of spoilage before eating.
Can I freeze this recipe?
Yes, the chicken can be frozen once cooked. Wrap it properly in foil or freezer bags, and it’s good for up to 2-3 months. Just thaw in the fridge before reheating.
What can I substitute for one ingredient?
If you don’t have all-purpose flour, you can use gluten-free flour for a similar texture. The coating should still hold up well during frying.
Why didn’t my recipe turn out as expected?
Common issues include not heating the oil enough, which could lead to greasy chicken, or undercooking the chicken. Always ensure your cooking temperature is right, and check doneness to prevent any mishaps.
Final Thoughts
Cooking can be a joyful expression of yourself, and this easy honey garlic chicken recipe embodies that notion beautifully. The warm flavors and enticing aromas create a welcoming environment in the kitchen, inviting you to gather and share moments over a satisfying meal. Let the simplicity of this recipe inspire your weeknight dinners. Happy cooking!
Easy Honey Garlic Chicken
Ingredients
For the Chicken Coating
- 1 cup all purpose flour
- 1/2 teaspoon salt
- 1/4 teaspoon pepper
- 1 teaspoon dried thyme
- 1 teaspoon paprika
- 2 large eggs beaten
For the Chicken
- 2 pounds chicken tenders
- 4 cloves garlic minced
For the Sauce
- 1/4 cup soy sauce
- 3/4 cup honey
- 1/4 teaspoon red pepper flakes optional
For Frying
- Canola oil for frying
Instructions
Preparation
- Mix together the flour, salt, pepper, dried thyme, and paprika in a shallow dish.
- In a second shallow dish, beat the two eggs until well mixed.
- Coat each chicken tender in the seasoned flour mixture, shaking off any excess.
- Dip each coated chicken tender into the egg mixture, allowing any excess to drip off.
- For extra crunch, dip them back into the flour mixture for a second coat.
- Place the coated chicken tenders on a plate.
Cooking
- Pour enough canola oil into a large skillet to reach about 1/2 inch high and heat over medium heat.
- Carefully add the chicken tenders to the hot oil in a single layer.
- Cook the chicken for about 4-5 minutes on each side, turning when golden brown.
- Flip the chicken and continue cooking for an additional 3-4 minutes, or until cooked through.
- Remove the tenders to a paper towel-lined plate.
Sauce Preparation
- In a separate small skillet, heat a little olive oil over medium-low heat and sauté the minced garlic for 2-3 minutes.
- Add the soy sauce, honey, and optional red pepper flakes to the skillet, stirring to combine.
- Cook the mixture for about 2 minutes until heated through and slightly thickened.
- Brush or drizzle the warm sauce over the cooked chicken tenders.
- Set aside some extra sauce for dipping, if desired.
Serving
- Garnish with sesame seeds and sliced green onions if desired.