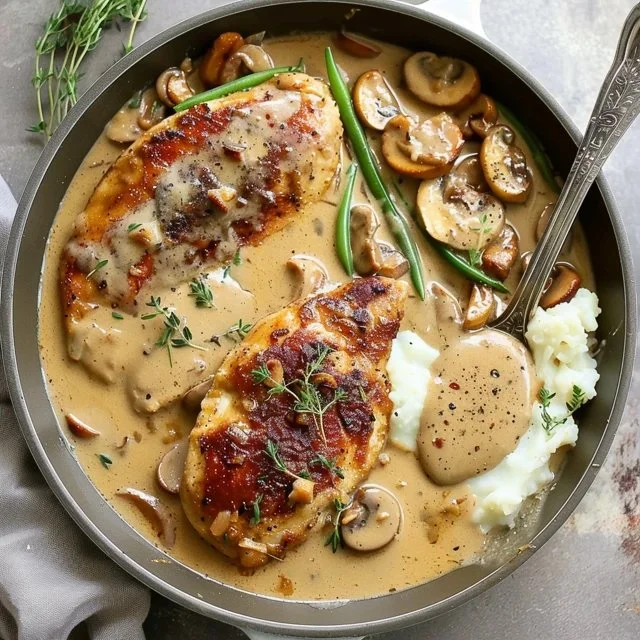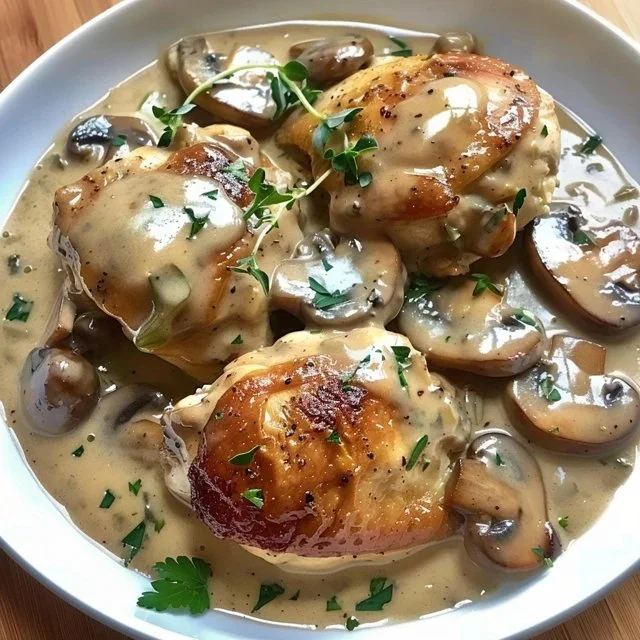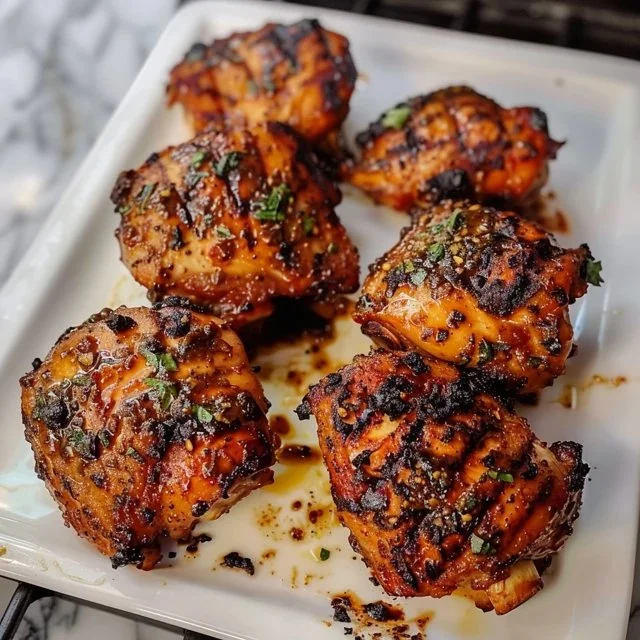

Gathering around the table for a delicious meal is one of life’s simple pleasures, and this dish brings comfort in every bite. With juicy pieces of chicken coated in a sweet and tangy glaze, Honey Chicken is both satisfying and straightforward to prepare. Each element balances beautifully, creating a dish that’s perfect for a weeknight family dinner or even a weekend gathering. Let’s dive into making this delightful meal that promises to please everyone around your table.
Why You’ll Love This Honey Chicken Simple Dinner
You’ll appreciate how easy and dependable this Honey Chicken recipe is, making it a stress-free choice for busy days. The comforting flavors blend perfectly, offering a delightful balance of sweetness and savory goodness. It’s a practical choice for everyday meals while still being sophisticated enough for special occasions. With just a few straightforward ingredients, this recipe is both approachable and rewarding.
Kitchen Tools You’ll Need
- Large skillet
- Mixing bowl
- Measuring cups and spoons
- Paper towels
Ingredients
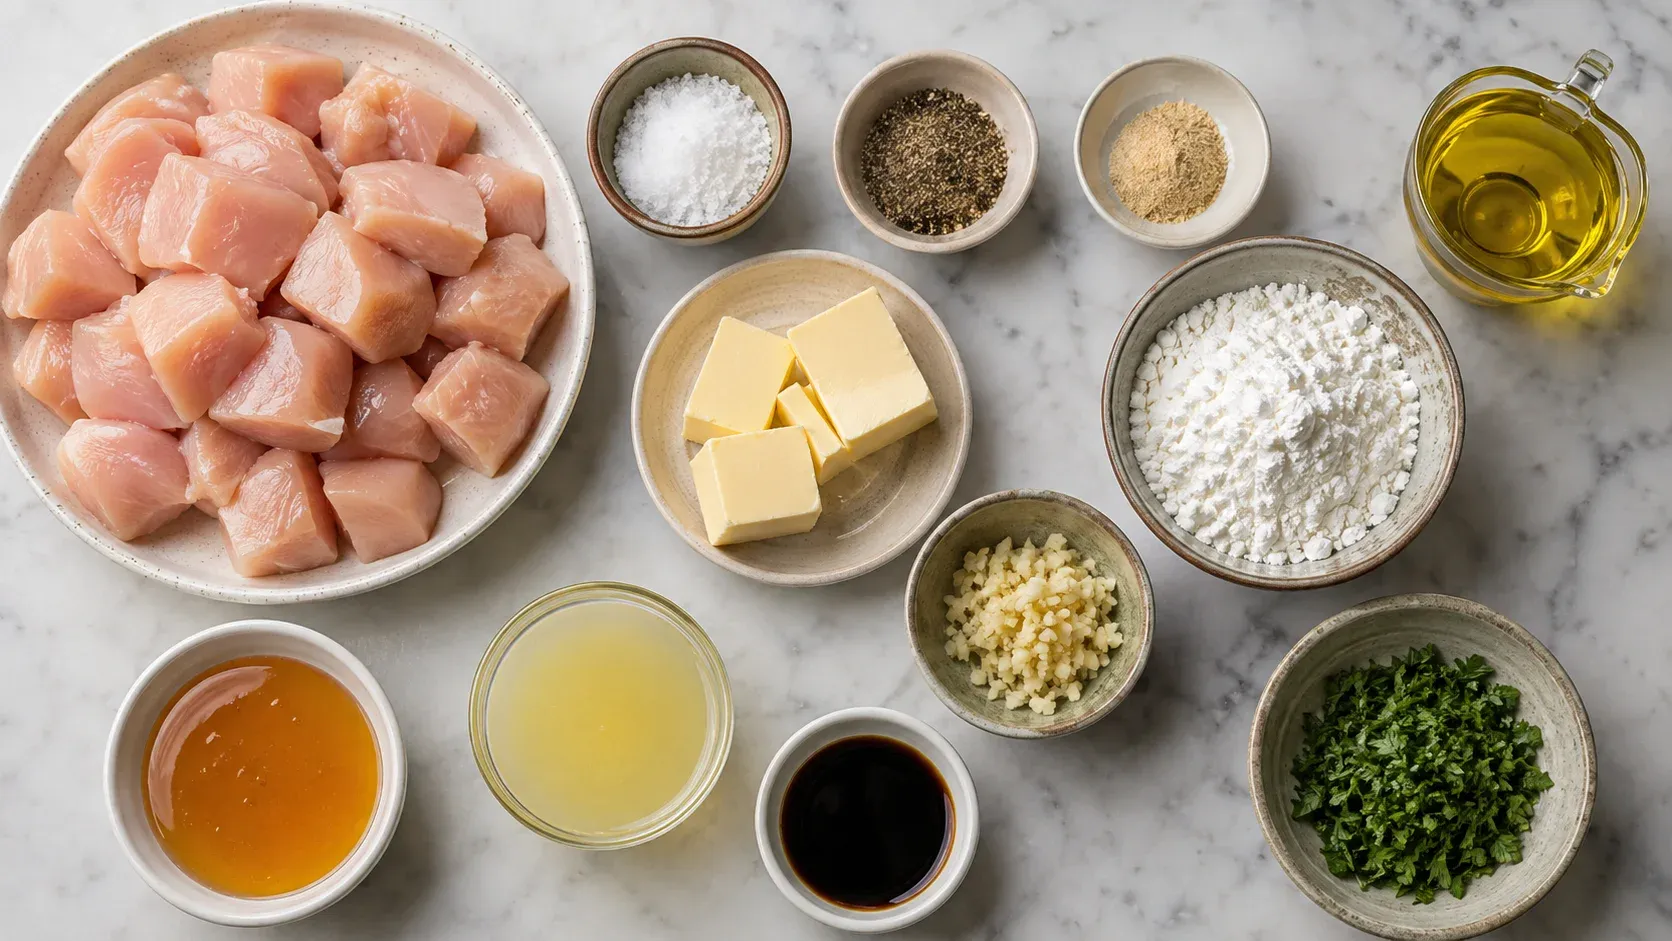
- 1 1/2 lbs. Chicken Breast (cut into bite-size pieces for quick cooking)
- 1 teaspoon Salt (for flavor enhancement)
- 1 teaspoon Pepper (adds mild heat)
- 1/2 teaspoon Garlic Powder (for aromatic depth)
- 1/4 cup Cornstarch (creates a crispy coating)
- 2 Tablespoons Olive Oil (for sautéing)
- 4 Tablespoons Butter (adds richness)
- 3 Garlic Cloves (minced for fresh flavor)
- 1/3 cup Honey (provides sweetness)
- 2 Tablespoons Fresh Lemon Juice (adds acidity)
- 1 Tablespoon Soy Sauce (enhances umami flavor)
- Fresh Oregano or Italian Parsley (chopped for garnish)
How to Make Honey Chicken Simple Dinner
Step 1. Start by cutting the chicken into bite-sized pieces. This size is important for ensuring even cooking and allows the chicken to absorb the flavors better. Pat the pieces dry with a paper towel, which helps the salt, pepper, and garlic powder adhere and enhances browning during cooking.
Step 2. Sprinkle the chicken with salt, pepper, and garlic powder. This step is key for layering flavor throughout the dish. Toss the chicken pieces gently to ensure they are evenly coated with the seasoning, which will help build the flavor foundation for your Honey Chicken.
Step 3. Place the cornstarch in a bowl and toss the chicken in the cornstarch to coat thoroughly. This coating provides a light crunch to the chicken, enhancing its overall texture when cooked. Make sure all pieces are evenly coated, which will contribute to a more satisfying bite.
Step 4. Heat a large skillet over medium-high heat and add olive oil. The oil is essential for achieving a golden-brown exterior on the chicken. Once heated, you should see the oil shimmer slightly, indicating it’s ready for the chicken.
Step 5. Cook the chicken for 8-10 minutes until it’s golden brown and cooked through. Stir occasionally to ensure all sides get even cooking and prevent sticking. The chicken should be no longer pink in the center, and the exterior should have a nice color.
Step 6. Add butter, minced garlic, honey, lemon juice, and soy sauce to the pan. This combination creates a flavorful sauce that will coat the chicken beautifully. Stir everything together to combine, and let the mixture cook for about 5 minutes, allowing the flavors to meld and the sauce to thicken slightly.
Step 7. If you prefer a thicker sauce, remove the chicken from the pan after cooking for a few minutes and let the sauce cook for an additional 5 minutes. This step will concentrate the flavors and enhance the glaze. Once it reaches your desired consistency, return the chicken to the pan and toss everything together to coat.
Step 8. Sprinkle with fresh oregano or parsley before serving. This finishing touch adds a burst of color and a hint of freshness that complements the dish. You can also drizzle more honey on top when serving for those who enjoy added sweetness, making each bite even more delightful.
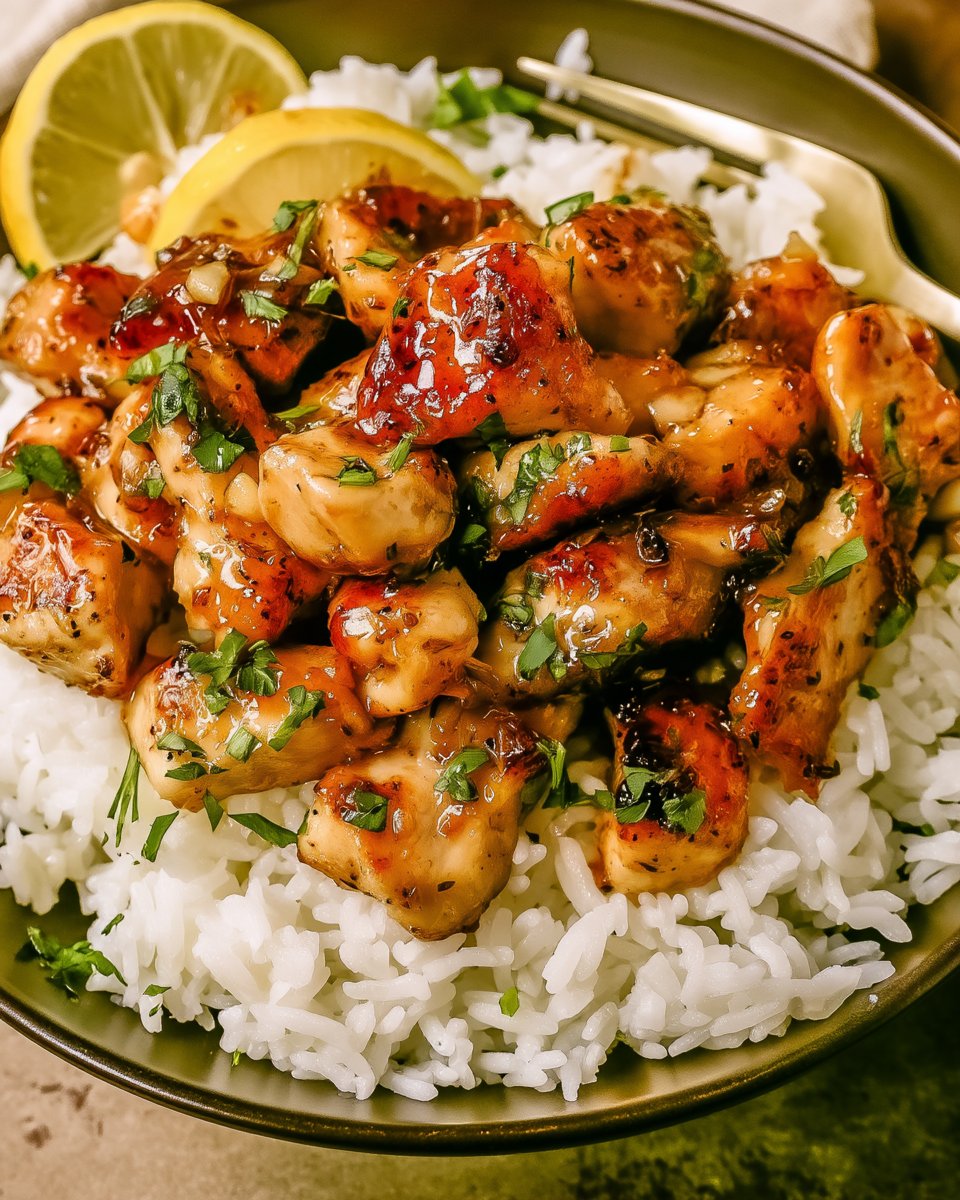
Serving Suggestions
Honey Chicken is incredibly versatile and can be served in a variety of ways. It pairs beautifully with steamed rice or quinoa, providing a hearty and satisfying foundation for the dish. You could even toss it into a green salad for a refreshing lunch. As a comfort food option, serve it alongside roasted vegetables or a creamy potato dish to round out a family meal. If you have leftovers, they can make for a quick snack or a tasty meal prep option for the next day.
Pro Tips for Best Results
- Ensure the chicken pieces are dried properly before seasoning to promote better browning.
- Allow the skillet to heat adequately before adding the chicken to prevent sticking.
- Don’t overcrowd the pan; cook the chicken in batches if necessary for even cooking.
- For a more pronounced garlic flavor, add the minced garlic closer to the end of the cooking time to keep it fragrant.
- Adjust the honey and lemon juice to your taste preference for sweetness and acidity.
- Fresh herbs work best as a garnish, so chop them right before serving for optimal freshness.
Common Mistakes to Avoid
- Overcrowding the skillet: This can lead to steaming rather than browning. Cook in batches to achieve that desirable golden color.
- Skipping the cornstarch: Omitting it will result in a loss of the crispy texture you want on the chicken. Ensure every piece gets coated.
- Not drying the chicken: Excess moisture will hinder browning. Pat it dry thoroughly before seasoning.
- Using old ingredients: If your spices or honey aren’t fresh, the flavors will suffer. Always check the age of your pantry items.
- Rushing the sauce thickening: If you don’t allow enough time for the sauce to thicken, it can end up too runny. Give it the time it needs to develop a rich, sticky glaze.
- Not adjusting seasoning: Everyone’s taste is different, so be ready to taste and adjust the salt, pepper, and acidity to suit your liking.
Variations & Substitutions
Consider adding vegetables like bell peppers or broccoli to the skillet for a more complete meal. You could toss in sesame seeds for added crunch and visual appeal. For a spicier kick, a dash of red pepper flakes can elevate the flavor profile. If you prefer a different sweetener, maple syrup can be an interesting alternative to honey, giving you a unique twist.
Storage & Reheating
Store leftover Honey Chicken in an airtight container in the refrigerator for up to three days. For longer storage, it can be frozen; transfer it to a freezer-safe container and it will last for about three months. When reheating, avoid the microwave if possible, as it can make the chicken rubbery. Instead, warm it in a skillet over low heat until heated through, ensuring it retains its texture.
Frequently Asked Questions
Can I make this recipe ahead of time?
Yes, you can prepare the chicken and sauce in advance. Store them separately in the refrigerator, then combine and heat just before serving for the best flavor and texture.
How long does it last in the fridge?
Honey Chicken can be stored in the refrigerator for up to three days. Ensure it is kept in an airtight container to maintain freshness.
Can I freeze this recipe?
Absolutely! Store the Honey Chicken in a freezer-safe container, and it will remain good for about three months. Thaw in the fridge before reheating.
What can I substitute for one ingredient?
If you don’t have cornstarch, a similar amount of all-purpose flour can be used to coat the chicken for a slight variation in texture.
Why didn’t my recipe turn out as expected?
There could be multiple reasons, such as overcrowding the pan or not ensuring the chicken was thoroughly dried before seasoning. Each step is crucial for achieving the right flavor and texture.
Final Thoughts
Preparing Honey Chicken brings together simple ingredients to create a comforting and satisfying dish that’s perfect for any day of the week. It’s rewarding to see how flavors come together, and enjoying it with family or friends is truly a delightful experience. Remember, cooking should be enjoyable, and this recipe invites you to savor each moment in the kitchen. Enjoy your time making this dish, and know that it’s sure to become a favorite.
Honey Chicken
Ingredients
Main Ingredients
- 1.5 lbs Chicken Breast (cut into bite-size pieces) For quick cooking
- 1 teaspoon Salt For flavor enhancement
- 1 teaspoon Pepper Adds mild heat
- 0.5 teaspoon Garlic Powder For aromatic depth
- 0.25 cup Cornstarch Creates a crispy coating
- 2 Tablespoons Olive Oil For sautéing
- 4 Tablespoons Butter Adds richness
- 3 Cloves Garlic (minced) For fresh flavor
- 1/3 cup Honey Provides sweetness
- 2 Tablespoons Fresh Lemon Juice Adds acidity
- 1 Tablespoon Soy Sauce Enhances umami flavor
- Fresh Oregano or Italian Parsley (chopped) For garnish
Instructions
Preparation
- Start by cutting the chicken into bite-sized pieces, ensuring even cooking and flavor absorption. Pat dry with a paper towel.
- Season the chicken with salt, pepper, and garlic powder, tossing to evenly coat.
- Coat the chicken in cornstarch using a bowl, ensuring a light crunch.
Cooking
- Heat a large skillet over medium-high heat and add olive oil until shimmering.
- Cook the chicken for 8-10 minutes until golden brown and cooked through, stirring occasionally.
- Add butter, minced garlic, honey, lemon juice, and soy sauce to the pan, stirring to combine.
- Let the mixture cook for about 5 minutes until the sauce thickens slightly.
- For a thicker sauce, remove the chicken and allow the sauce to cook for an additional 5 minutes.
- Return the chicken to the pan, tossing to coat evenly.
- Garnish with fresh oregano or parsley before serving, and drizzle more honey if desired.